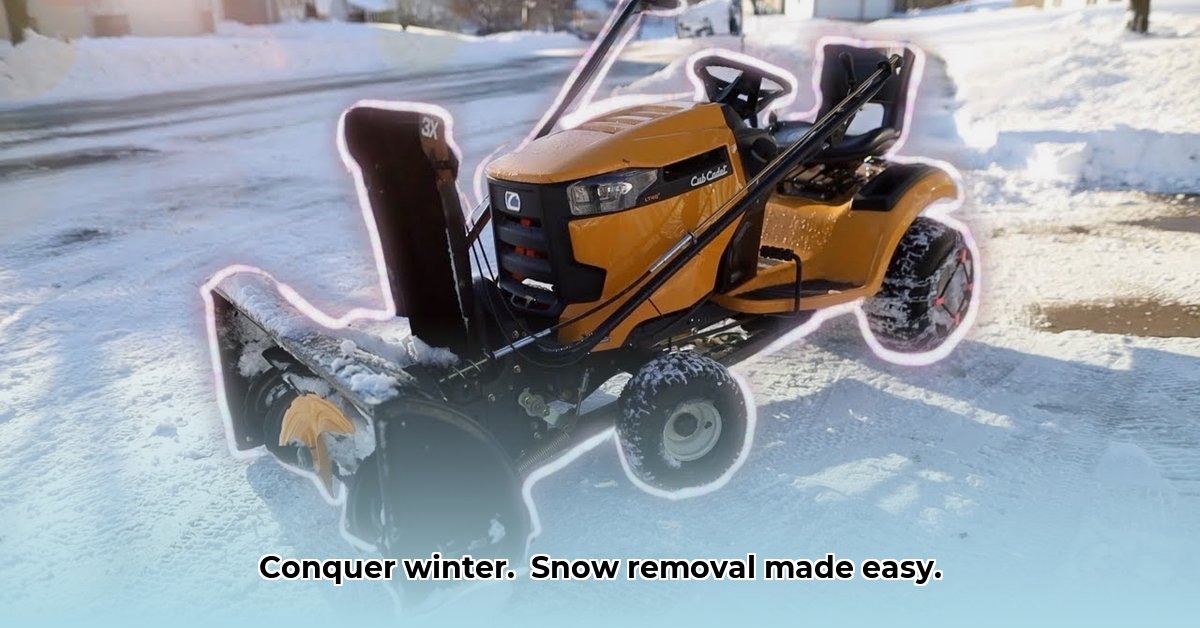
Tired of backbreaking snow shoveling? A Cub Cadet snow blower attachment can transform winter chores into a manageable task. This guide provides step-by-step instructions, troubleshooting tips, and model comparisons to help you clear snow quickly and safely. For more on front-mounted snow blowers, check out this helpful resource: Front Mount Snow Blowers.
Choosing the Right Cub Cadet Snow Thrower Attachment
Selecting the appropriate snow thrower attachment is crucial for efficient and safe operation. Incorrectly sized or incompatible attachments can damage your tractor or hinder performance.
First, verify compatibility. Your Cub Cadet's model number and year are paramount. Use Cub Cadet's online resources 1 or consult your local dealer to access compatibility charts. These charts specify which snow blower attachments are compatible with your specific tractor model. Don't simply choose the largest attachment available; an oversized snow thrower may overload your tractor's engine, leading to performance issues or damage.
Consider your typical snowfall. Lightweight models suffice for light, fluffy snow, while heavier, wetter snow conditions necessitate a more robust model. Think about the size of your driveway and walkways; a wider clearing width may reduce the time spent clearing snow, but may also be unwieldy in tight spaces.
Installing Your Cub Cadet Snow Thrower: A Step-by-Step Guide
Accurate installation is vital for safe and effective operation. Always consult your snow thrower's specific manual for detailed instructions and safety precautions.
Step 1: Prioritize Safety! Before beginning, switch off your tractor and disconnect the power take-off (PTO) (the mechanism that transfers power from the engine to the attachment). This is the most crucial safety measure.
Step 2: Accurate Alignment: Carefully align the snow thrower's mounting points with your tractor's hitch. A precise fit is essential for proper operation and to prevent damage.
Step 3: Secure Fastening: Use the provided bolts and tools to firmly secure the attachment to your tractor. Ensure all bolts are tightened correctly. Double-check your work to prevent detachment during operation.
Step 4: Reconnection and Testing: Once the attachment is securely fastened, reconnect the PTO. Before tackling your driveway, test the snow thrower in a safe, open area to verify its functionality.
Operating and Maintaining Your Snow Clearing Machine
Operating a lawn tractor in snowy conditions differs significantly from mowing grass. Safety remains the top priority.
- Pre-Operational Inspection: Before each use, inspect the snow thrower's chute and auger for any obstructions, such as debris or ice. Removing any obstructions minimizes the risk of damage or injury.
- Safe Driving Techniques: Maintain a slow, steady speed to prevent loss of control on icy surfaces. Avoid sudden stops or turns.
- Efficient Clearing Patterns: Experiment with overlapping passes to ensure even snow removal. Adjust your speed and technique based on snow conditions.
- Post-Operation Maintenance: After use, clean any snow or ice buildup from the snow thrower to prevent rust and corrosion. Lubricate moving parts as recommended in your owner's manual. Store the attachment in a dry, protected area to minimize damage. Regular maintenance extends the lifespan and performance of your equipment.
Troubleshooting: Common Problems and Their Solutions
Even well-maintained equipment can encounter issues. Here are solutions for common problems.
| Problem | Possible Solutions |
|---|---|
| Clogged Chute | Immediately turn off the machine. Carefully clear the blockage using the provided tools. Avoid forcing the blockage. |
| Belt Slippage | Inspect the belt for wear and tear. Replace or adjust the belt as necessary. Refer to your owner's manual for instructions. |
| Engine Won't Start | Check fuel levels, spark plugs, and consult your tractor's owner's manual for detailed troubleshooting instructions. |
| Slow Clearing Performance | Check for any obstructions in the chute, auger, or impeller. Ensure sufficient PTO power. Consider adding weight (weight kits) to the tractor for better traction in heavy snow. |
Comparing Cub Cadet Snow Thrower Models
Cub Cadet offers various snow thrower models with distinct features. Consider these factors when choosing:
- Clearing Width: A wider clearing width reduces the number of passes needed, but consider your driveway's width and maneuverability.
- Impeller Type: Two-stage impellers are suitable for lighter snow, while three-stage models excel in heavier, wetter snow. Three-stage models offer superior performance in challenging conditions.
- Overall Capacity: The capacity influences how much snow the thrower can handle before requiring emptying. Larger capacity is advantageous in areas with heavy snowfall.
Recommended Accessories for Optimal Performance
Accessories enhance snow removal efficiency and safety.
- Tire Chains: Significantly increase traction on icy surfaces. Essential for safe operation in icy conditions.
- Weight Kits: Adding weight improves traction and the ability to handle heavier snow, especially beneficial for larger snow throwers.
Remember to consult your owner's manuals and Cub Cadet's website for the most accurate and up-to-date information regarding compatibility, installation, operation, and maintenance. Prioritizing safety ensures efficient and enjoyable snow removal.